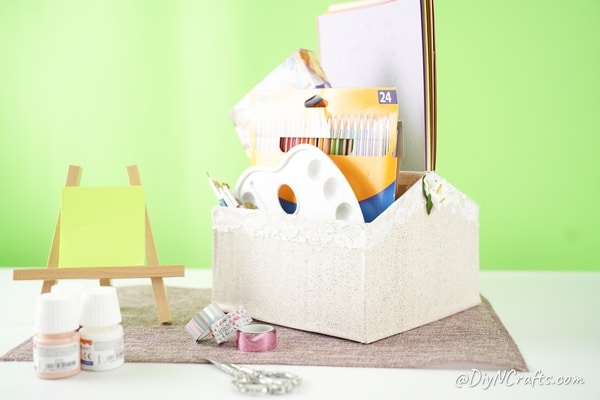
Rustic Upcycled Cardboard Organizer Box
My solution to the problem of having a few too many boxes lying around is this adorable and super like shooting fish in a barrel cardboard organizer box. Instead of simply breaking them downward to recycle, I am ever watching for nice-sized boxes to turn into storage options around the house.
This box was a perfect fit to cutting apart and use every bit a lilliputian organizer for various needs around the firm.
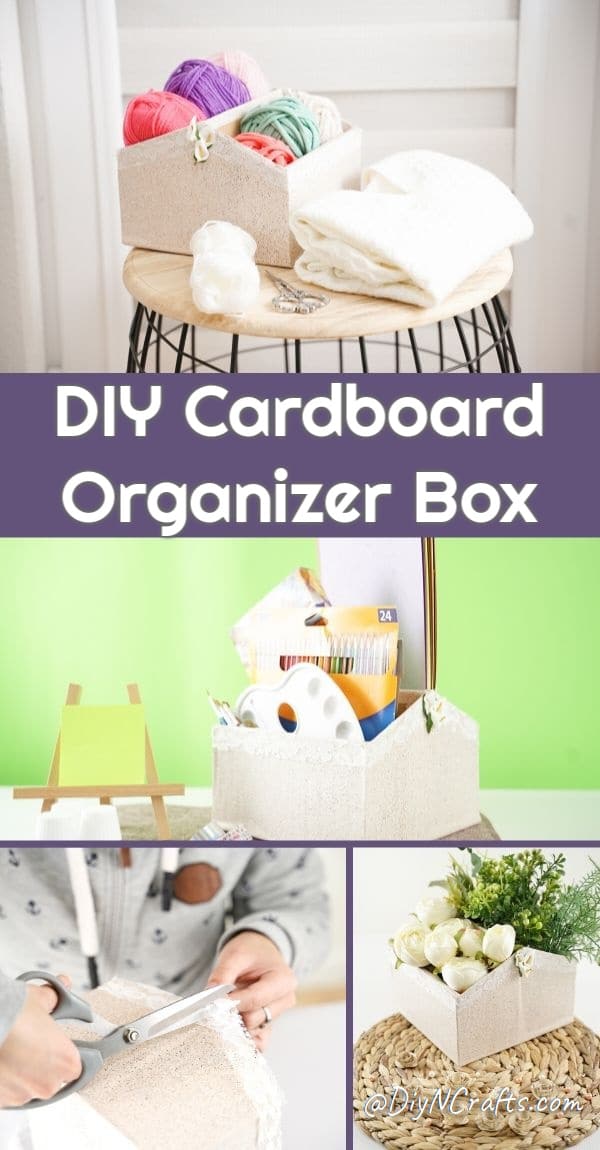
DIY Cardboard Organizer Box
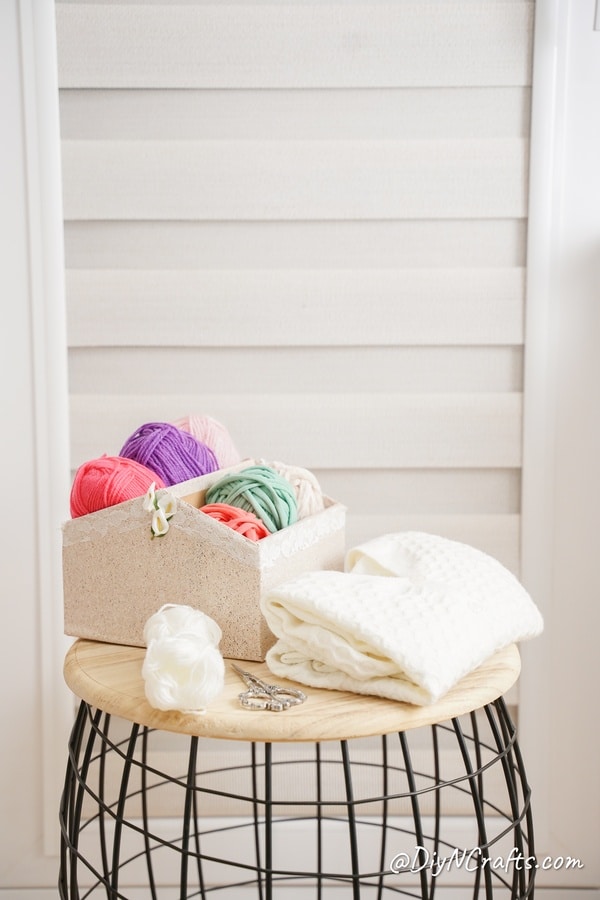
If you are like me, y'all probably take your latest crochet project by your chair. It can go a flake messy at times. With my cats in the business firm, it can cease up with a favorite project existence unraveled in no time.
My solution has been to find or create trivial boxes and buckets around the house to stash my crafts and continue them safe.
I used a large box that a package had arrived in to cut and make this organizer. Since it is folded in half to create ii sides, it's platonic for sitting on a table between my husband and my chairs and then we both take a place to shop our favorite items.
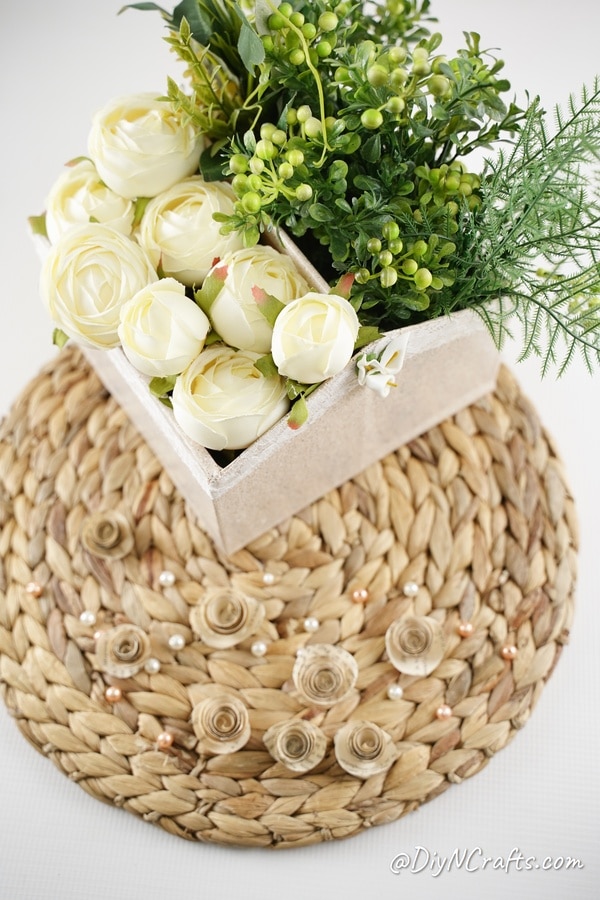
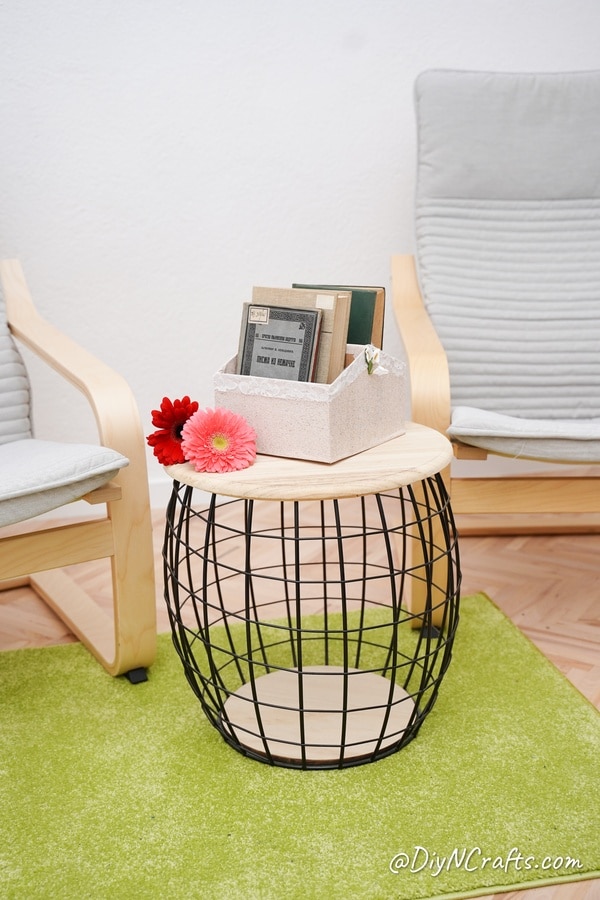
Books, craft supplies, remote controls, snacks, or fifty-fifty a vase with flowers can all fit into this box. I personally love that it is lightweight enough that I can option it up and motility around the firm if needed.
Of grade, I find this peculiarly helpful when I am in the heart of a crochet project and want to take it with me to work on in various rooms.
What Should I Cover My Box With?
I used contact paper for this project considering it is versatile, like shooting fish in a barrel to clean, and easy to put over the paper-thin. My local dollar store carries small rolls for just $1 each.
When I find patterns I like, I'll grab several to constrict away for projects similar this one.
If you plan to use this regularly, I would recommend contact paper or fabric every bit a cover. Wrapping paper is a common selection, merely it will tear apart fast and exit you with something that is just for show and non functional.
Depending upon your needs, you'll want to use something sturdier. The bonus with contact paper is that you can simply wipe spills or stains off without much effort.
This listing of DIY desk organizers has some more great ideas for covering different items for everyday use. These forth with my favorite mason jar organizers keep my office supplies handy but out of the way.
If you are short on space, you might prefer this easy to make homemade wall organizer with fun sleeves to slide items into.
Can I Paint The Box Instead?
Painting the box is a option that some might similar only I discover it to be as well messy. It isn't a dandy option for a box you'll want to apply regularly. To get full coverage on the box you'll demand multiple coats of paint.
That will have more than time and not exist every bit cost-effective. Plus, yous may discover that the paint on the paper-thin volition accept longer to dry out. So, I don't recommend using paint for coating your box.

I've made numerous organizers in the past, and love all of them for the ways they keep me on rail. From the latest old CD pocket wall organizer to my sewing kit pincushion organizer jar,
I've come up with some cracking upcycled items. Your kids might like to make this framed jeans pocket organizer with their quondam blue jeans! There are so many astonishing means y'all can organize your life using items you already have on hand!
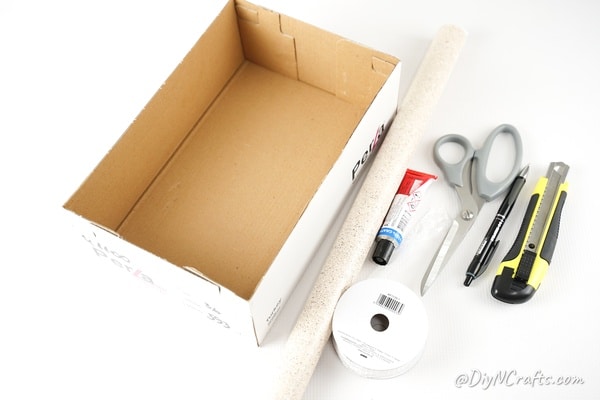
Supplies Needed
- Cardboard box
- Contact paper
- Ribbon or Lace
- Fake flowers
- Craft glue or hot glue gun and glue
- Scissors
- Craft knife
- Pen
How to Upcycle Cardboard Into an Organizer Box
Begin past using a ruler to measure your box marking information technology halfway down the length. So use a ruler to measure a "5" onto each side at that bespeak.
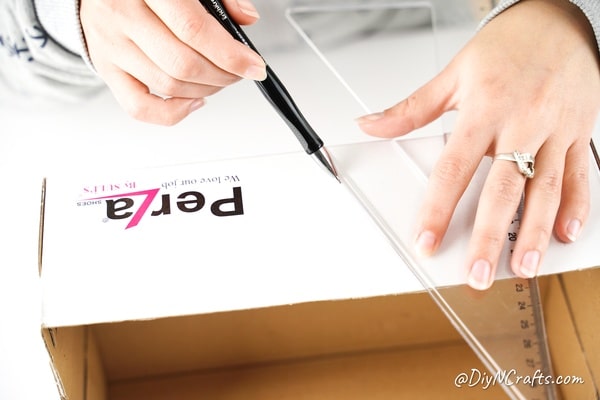
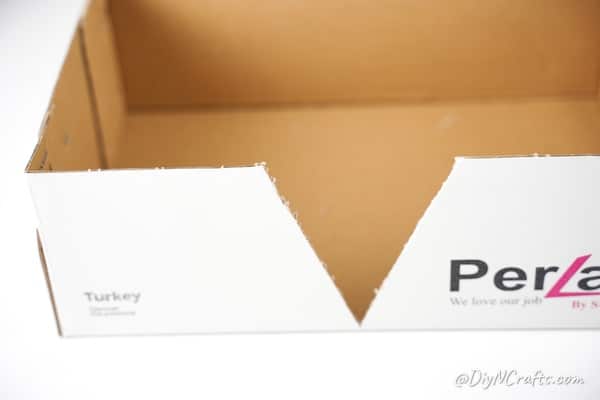
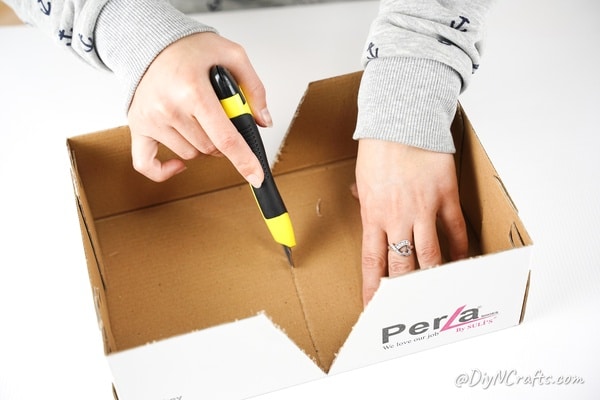
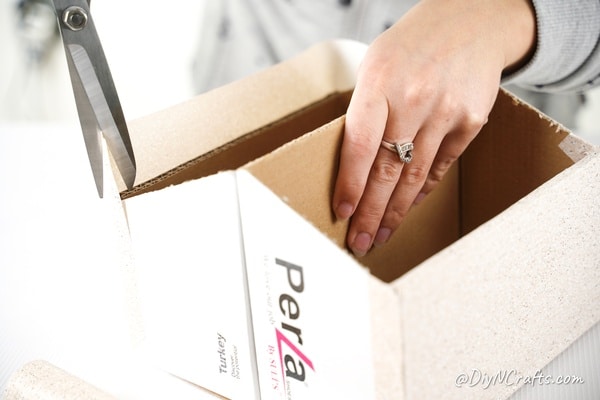
Employ your craft knife to score and cutting notches on both sides in a "5" shape with the point at the bottom.
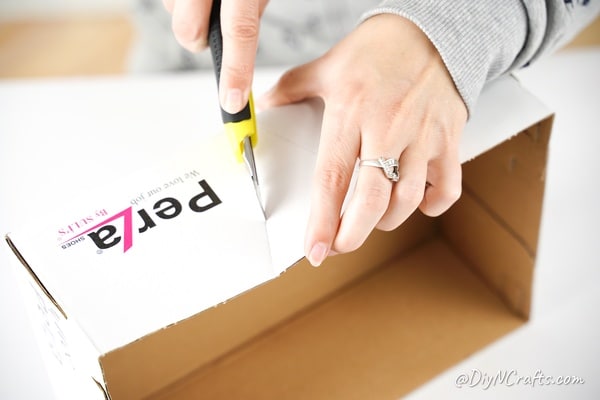
Trim the cardboard so that the box has a "V" shaped opening on both sides.
Now yous will follow the line connecting the two notches and lightly score the cardboard. Don't cut all the way through.
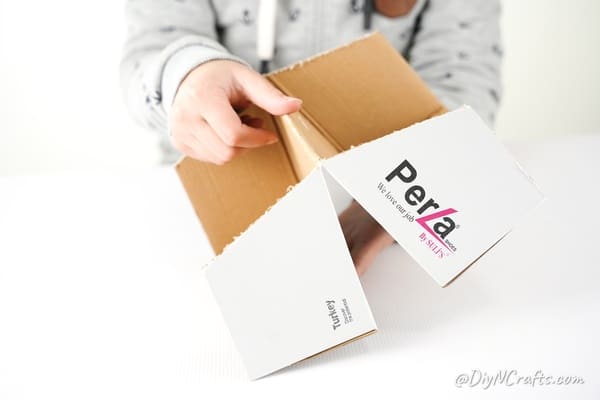
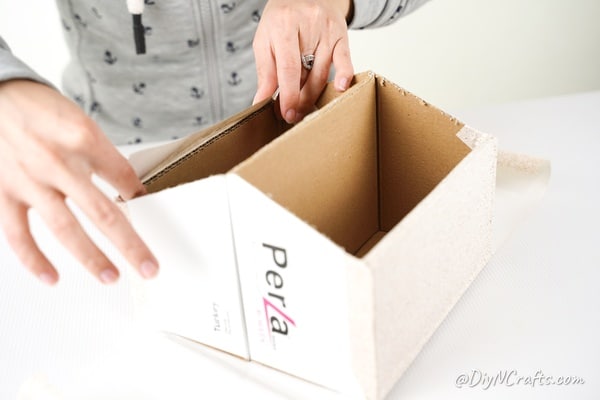
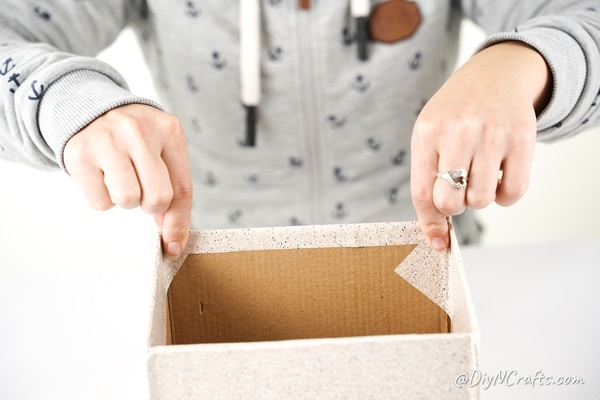
Now, y'all will fold the box in half forth the scored line.
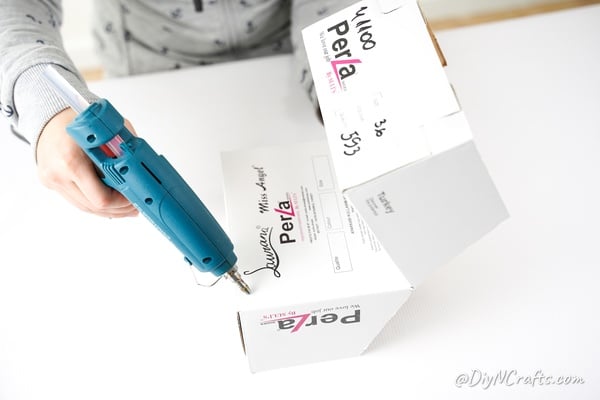
Utilise hot glue to attach the ii sides together as shown. This volition create a box with pockets on both sides.
Now, utilize your box to measure out and cut the contact paper to fit.
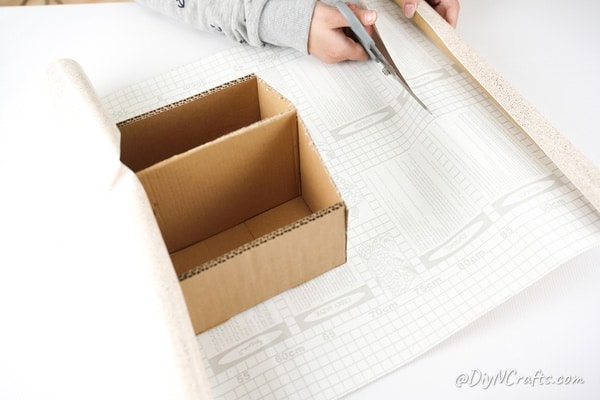
Trim the contact newspaper so the sides are notched for easy application as shown.
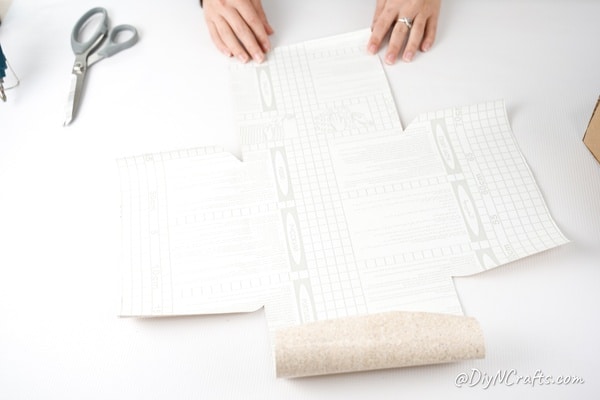
At present, peeling a picayune of the bankroll off at a fourth dimension, you will apply the contact newspaper to the box roofing all sides and folding over the tops as shown.
Make sure to go out a few extra inches on the sides to fold over the meridian of every side to encompass whatsoever rough edges.
This volition cover the rough edges and get in look a fiddling neater effectually the edges.
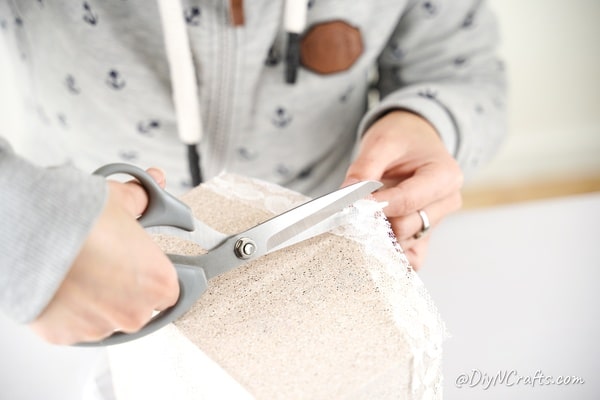
Now, you lot volition decorate the box with ribbon or lace. I added a bit of lace along all edges using hot glue.
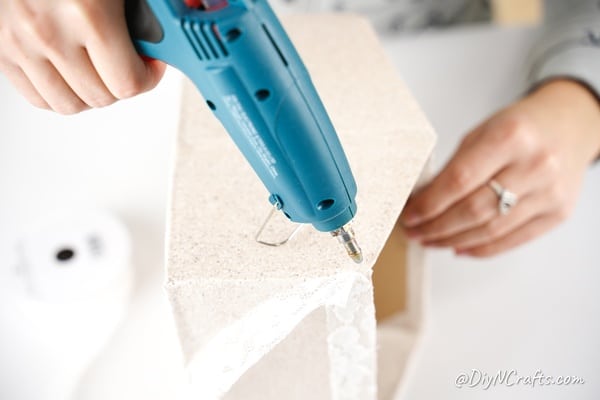
Once your lace is in place, you lot can add together a imitation flower or bow to each side to comprehend where the ends encounter.
Now y'all can fill your box with books, magazines, yarn, or remote controls!
Crafter Tip
Take advantage of the neat cost at Dollar Tree online to get a box of contact newspaper in various colors for a fraction of the cost proper noun brand in store costs. It's great for projects like this, and of course, to line your chiffonier drawers or even office desk drawers.
Active Time 25 minutes
Full Time 25 minutes
Notes
Yous can save extra cardboard and use as dividers inside each side of the box for fifty-fifty more than partitions for storage.
Source: https://www.diyncrafts.com/82501/organization/upcycled-cardboard-organizer-box
0 Response to "Rustic Upcycled Cardboard Organizer Box"
Postar um comentário